Table of Contents
This feature is currently in beta testing. We may not be able to address all issues that you may come across.
Dashboard Builder
This page provides instructions for configuring the celitoVoice Dashboard Builder.
Prerequisites
- You must request that the Dashboard Builder feature be turned on
- You must have a call queue that has Statics Collection turned on
- Your account must be a "Call Center Supervisor"
- Can also be an "Office Manager" with the call center supervisor view enabled by celito support (must be requested)
Instructions
Accessing the Dashboard Builder
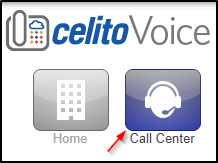
- Make sure that you are in your Manage Organization view and click on the "Call Center" button on the top of your portal.
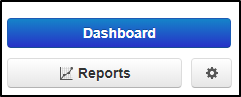
- Next click the Dashboard button that is on the top right side of your Call Center view.
- This will open a new window and you will be in builder mode.
Configuring the Dashboard Builder
- The first thing that you will want to do is click the pencil icon on the top right, then click the pencil icon next to the name, currently "New Board". You can name it whatever you would like and this can be changed at any time. Click Save and the board will now be named.
- Next click Add A Card, then Choose Type.
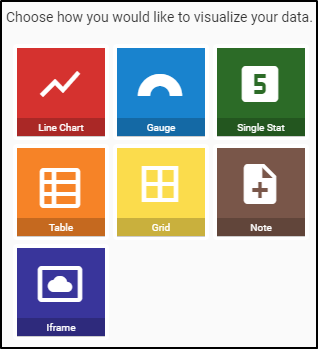
- Next, on the right side of the screen, you will choose how to visualize your data. Different types of data will give you different options to view.
- When you are finished, click Next at the bottom or Data at the top.
- Once you have selected how you would like your data to appear, click + Add Data and the available options for that data type will be displayed.
- Next select the fields that you would like to have visualized and set up any alerting that you may want with the + Add Alert button.
- When you are finished, click Next at the bottom or Style at the top.
- If you want to make any changes to the styling, do so here, otherwise, click Done at the bottom.
- Repeat for any additional cards that you would like.